Roof Repair Near Me
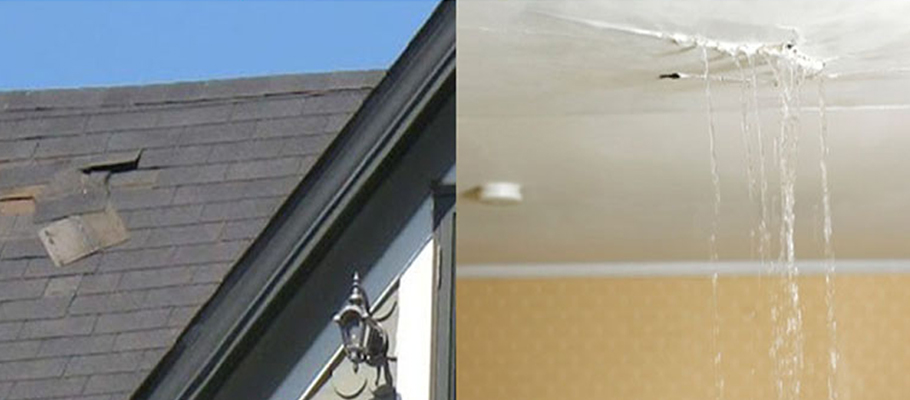
While you are waiting on a roofing professional to evaluate and repair your roof leak, you can take some measures to stop the damage. The temporary solutions below can prevent further damage to your ceiling and drywall and save you some money on your final repair. We will walk you through some basic steps to find the source of a leak and do a temporary repair.* We also recommend that you schedule a free roof inspection with a local roofer right away, because a temporary fix could be adding to a dangerous situation. A roof leak can lead to your roof caving in, severe structural failure, or black mold poisoning due to moisture.
How to Find a Roof Leak
Step One: Check the Insulation.
Access your attic where the water is entering your home, or where there is visible damage to your ceiling. Is the insulation wet or damaged? Before you remove the insulation to get a better look, see if you can follow the damage to the insulation to the source of the roof leak. Often, the source of the leak is far from the spot where water is entering home. Use protective gear and proper precaution when working in the attic and around insulation.*
Step Two: Assess the Damage.
After you have checked the insulation for any clues, remove the insulation to see what going on behind it. At this point, look at the drywall and wood in the attic for moisture, discoloration, mold and rotting. When possible, trace the damage to the entry point. If you see rotting wood, this is an area that has likely been exposed to moisture for months or even years. An area with more wood rot may point you to the source of the leak. Sometimes it’s impossible to find the source of the leak from the attic, so we’ll head to the roof next.
Step Three: Check the Roof.
Our goal is to find the source of the leak on the roof and create a temporary fix until you can get a licensed roofer to assess the situation. Be sure to use shoes with rubber soles, secure your ladder to the building, and take all appropriate safety precautions.* If it’s raining, wait until it stops to go on the roof. Once on the roof, see if there are any obvious culprits near the area of the leak in the attic. Some things to look for are:
- Nails without sealant
- Missing shingle
- Cracked shingles
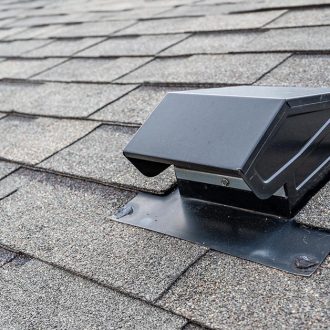
- Gap in the sealant around a valley, vent or window
Check out our Roof Issues page for a more comprehensive list of issues that could be causing your roof leak. If you don’t see an issue in the area immediately surrounding the leak, look at the slope of the roof and widen your search to see where water could be traveling from.
Temporary Roof Leak Repair
Step One: Gather Materials.
Your repair will depend on the source of the leak. Two of the most common minor leak repairs are 1) replacing a shingle and 2) sealing a seam. Materials you may need for the repair are as follows:
Ladder
Rope
Rubber soled shoes
Gloves
Putty knife
Caulk gun
Roofing cement
Shingle
Plywood
Tarp
2×4’s
Staple gun
Nails
Step Two: Replace Shingles.
To replace a single shingle, use roofing cement and apply it to the underside of the shingle and to the roof. Slide the shingle underneath the shingle immediately above it and secure the overlapping shingles with 6d galvanized roofing nails. Be sure to cover the nails with roofing cement to seal them and press the shingles firmly into the roofing cement, leaving all edges sealed.
Step Three: Seal Roof Flashing.
If your issue is gaps or faulty sealant around the flashing, a temporary fix is to seal it by using roofing cement in a caulk gun. You can also use a putty knife to apply an extra layer of roofing cement, especially if the area has already been repaired before. It’s important to get a licensed roofer to come look at the issue to make sure the repair is done correctly to prevent further damage.
Step Four: Use a Tarp.
If you can’t find the source of the roof leak, use a tarp to cover the area.* Do not nail the tarp directly to the roof, as this will create new punctures that will cause further leaking and be expensive to repair. Staple the edge of the tarp to a 2×4 and then place another 2×4 above it and nail them together, sandwiching the edge of the tarp. Place the 2×4’s on the other side of the roof ridge from the area you are protecting. If there is a possibility of high wind, hurricanes or tornadoes, secure the tarp to the roof with rope.
How Long Can You Leave A Tarp On A Roof?
According to HUD, the maximum time you should leave a tarp on your roof is 30 days. While some sources say 90 days, we caution against this. A tarp keeps additional moisture locked into your roof, causing wood and shingles to rot more quickly. In three months’ time, minor damage to the wood structure of your roof can become severely rotted, posing a structural threat to the inhabitants of the home. The additional damage is also an unnecessary expense added onto the cost of the initial roof damage. Use a tarp to immediately stop water from entering your home. At the same time, schedule a free roof inspection with local roofing companies to get your repair underway as soon as possible.
Roofing Company Near Me
Schedule a free roof inspection now, before a minor leak becomes a disaster. Castle Roofing Group LLC is an Orlando roofing company serving Central Florida. We offer an excellent warranty and fair pricing. To this day, the owners of Castle Roofing Group manage day to day operations and supervise our team to assure no matter how small the job is, we get it done right. Contact us today at (407) 477-2823 for a free estimate or schedule your free roof inspection online now.
*Caution: If you are at all uncomfortable or inexperienced working on these projects, please reconsider doing the job yourself. It is very possible on any DIY project to damage your house, property, create a hazardous condition, or harm or even kill yourself or others. The material in this article is for informational purposes only. By taking any information material from Castle Roof Group, LLC, you assume all risks for the material covered.
By using this website, you agree to indemnify, hold harmless, and defend Castle Roof Group, LLC, its officers, employees, agents, affiliates, and their related companies, from any and all claims and damages as a result of any and all of the information covered. Castle Roof Group, LLC and affiliates will not be held responsible for any loss damage (including, but not limited to, actual, consequential, or punitive), liability, claim, or any other injury or cause related to or resulting from any information posted on the company’s website.


